
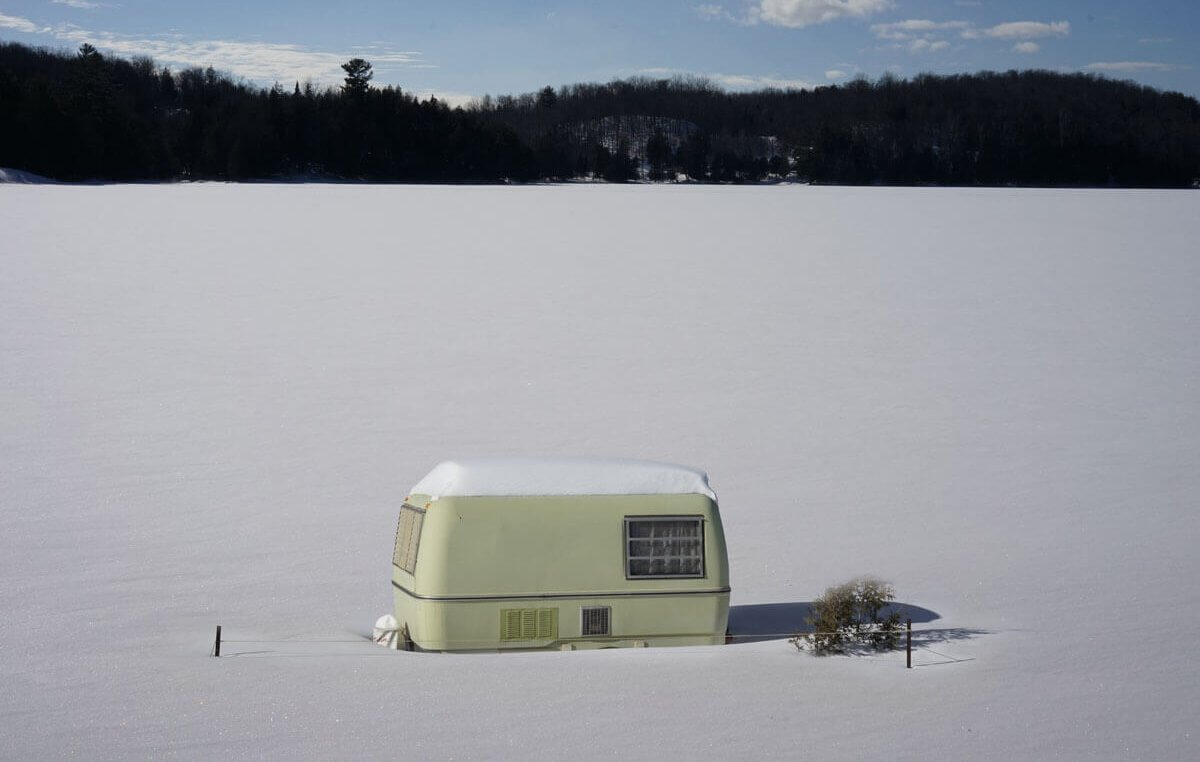
 Driving cross-country in an RV during the summer months, with the wind in your hair and the unending promise of a night barbecue under the fading rays of the summer sun, is a rite of passage for a great many American families.
Contents
Alas, these vehicles are for life (or at least a handful of years), and not just for August – when the cold weather season descends upon us, you’re going to need to take some appropriate steps to protect your travel trailer from the winter elements.
This guide will explain exactly how you can go about such a task and prevent a hefty bill for repairs when the spring arrives.
If you’re unfamiliar with the concept of winterizing an RV, this process mostly revolves around draining the water lines to prevent freezing.
Much like within a static home, water pipes can freeze and burst in extreme weather conditions; no fun for anybody, with the possible exception of repair technicians who rub their hands with glee when they imagine the invoice they’ll be able to hand over once their work is complete.
Every RV has a different process
Every RV had a different process so you’ll want to refer to your instruction manual to find out exactly which steps apply to your model, but we’ll talk through the most common, traditional methods of winterizing these vehicles.
Blow out the water from the lines using an air compressor and blowout plug
The most reliable way of getting your RV ready to lay dormant for the snowy season is to blow out the water from the lines using an air compressor and blowout plug, which means that no anti-freeze is required in your RV’s pipes – meaning this method is strongly recommended if you obtain drinking water directly from your trailer, due to the risk of toxic remnants making their way into your supply of h2O.
If you don’t already have an air compressor or the capacity to borrow or hire one, expect to pay somewhere in the vicinity of $100-150 for a reputable model and a blowout plug.
Simplest Method Step By Step
Here is the simplest method you should embrace in order to clear your water pipes – but again, please allow us to stress that you should double-check that your particular model of travel trailer does not require special attention or instructions.
- Reduce the output of your air compressor to 30-40 pounds per square inch (PSI)
- Locate all of the water tanks on your RV and drain them, then firmly close them again – this is an important step if you don’t want to be soaked in freezing water!
- Take your blowout plug and firmly screw it into the water valve, then add the air compressor. At this point, it’ll help you greatly to have a second pair of hands to actually enter the trailer, so rope in somebody else at this juncture.
- Have your glamorous assistance turn off all of the sinks in your RV but one, and to begin running water from the sink in question.
- This that tap is running, use the air compressor to blow water out – ideally in short, controlled bursts rather than one, long action.
- Have your helper shout to you once the water stops running from the tap. Give it about thirty seconds, then remove the compressor. Ask them to try to run the tap again – if the process has worked, nothing will come out. You’re done with this area now, so you can switch off the water supply to this sink.
- Repeat this process for every sink you have in your trailer, and also for the toilet.
Of course, whilst we wish to avoid consuming anti-freeze, it remains very important to keep your RV in shape – especially if your town is prone to particularly harsh winters.
You should definitely add this to the plumbing components of your trailer, ideally using RV-specific non-toxic liquid (this is usually pink, as opposed to the traditional blue).
Winterizing with Anti-Freeze Alone
It is possible to winterize a travel trailer with anti-freeze alone if you follow these steps, though regardless of whether it is non-toxic, keep it well away from your drinking water supply.
- Firstly, purchase plenty of the aforementioned liquid – you’ll probably need around six gallons.
- Drain all the water tanks, including the toilet.
- Locate the water heater, and flick the switch to ‘bypass’ – if your trailer does not provide this option, this method may not be ideal for you.
- Use a wrench to open the water heater and flush out any water that may have built up, and open all of the taps in your trailer.
- Fill the tank with anti-freeze – and we do mean fill. Go above the water level if at all possible, as it’s better safe than sorry.
- Turn on the pump, and set all faucets to cold water and set all the taps and showers in your RV running. All being well, anti-freeze will start to pour out after a while. Do the same for hot water.
- Flush the toilet numerous times, until the bowl starts to fill with anti-freeze. Once that’s done, pour a gallon down the pan in order to winterize the holding tank.
- Finally, pour anti-freeze down every drain located throughout the faucets and shower of the RV.
Of course, there are other steps that are required that go without saying – not least removing any food and drink from your RV’s refrigerator!
Cartons of milk or orange juice are just as likely to expand and explode as water in the winter, and will smell pretty foul by the time you set foot back inside the vehicle.
Also make sure every possible access point for rodents and other wildlife is well covered, lest all kinds of critters move in for a warm shelter during the cold season – ideally using a breathable material so your trailer does not develop mold in the off-season.
Something as simple as replacing your curtains (they don’t have to be fancy drapes!) with some material such as acrylic polar fleece, which is great for insulation purposes, can perfectly do the trick.
You could also try plastic sheeting and foam, all you need is to stick it on with tape and it will block out any drafts and absorb excess condensation. Use this method for any gaps there may be throughout the trailer – after all, nobody is going to be inside in the winter months!
Obviously, you have to be able to get out of the trailer when you have completed all your money-saving tasks, so once you have locked up, cover the outside of the door with any of the same methods. It’s economical enough.
Still On The Road In The Winter?
This is a different ball game, and revolves around keeping yourself warm, your energy costs down (believe us, they can run pretty high in the winter months), and your RV protected as much as possible against the elements.
Most of the above tips and tricks can be applied, particularly when it comes to ‘insulating’ your vehicle to prevent drafts and moisture from making it a pretty miserable time.
Portable heaters instead of burning propane
Portable heaters are believed to be more effective and more economical than constantly burning propane for heating – the costs can seriously mount up if you are regularly refilling, as well you won’t be happy about stopping in the ice and snow with regularity to service your vehicle.
Makeshift curtains from styrofoam
While it may not be the most aesthetically pleasing solution, makeshift ‘curtains’ constructed from Styrofoam (or even bubble wrap) will help retain some of the heat within the RV that would otherwise escape through the thin glass windows.
You could also look into adding some kind of ‘skirting’ below the decks of your RV, using plywood or metal. This will keep the floor of your living areas a little warmer, and protect the delicate pipes beneath the surface of the vehicle.
Enclose everything tightly, though – this could look like a pretty enticing home for wildlife is there’s even the smallest gap from them squeeze into, and that will cause all kinds of problems.
Pick your park up spot carefully
When you park up, pick your spot carefully – you won’t want the side of your trailer to be battered by gusts of wind, or worse.
The front or rear of your RV will be able to cope with the elements better, and getting what little sunlight you can elsewhere will help you keep the trailer in good condition.
Periodically start the engine overnight
Also periodically start the engine overnight – the longer you remain parked and immobile, the more chance there is of experiencing problems getting mobile again in the morning as the battery will wither through lack of use in cold conditions.
A travel dehumidifier may make evenings more comfortable
Picking up a travel dehumidifier may also make the evenings more comfortable for all if you – condensation is quite the battle for RV users throughout the winter.
You should also consider calling ahead to the trailer park you are going to visit, to check out what facilities they have to hand. Some even have the ability for you to actually charge up you RV battery.
You should also bear in mind that just because you are prepared and your RV operates well in the winter, the same may not be able to be said of camping grounds or wherever you are visiting.
Pack plenty of backup water and a portable generator
Be sure to pack plenty of backup water in case you cannot gain access to that through frozen pipes elsewhere, pack a portable generator if you can to ensure that you’ll always have a power source, and it never hurts to have an extra supply of fuel just in case!
Follow these steps and your travel trailer will remain in tip-top condition for when you de-winterize in preparation for embarking on a new adventure when the weather warms up. Happy trails!